Window/Level Presets That Match How You Read
Published
Ask two radiologists to read the same chest CT and watch their hands. One drops to a lung window almost before the images finish loading. The other sits in soft tissue, scrolls, then flicks to bone when something on the ribs catches their eye. The pixels are identical. What differs is the window - the slice of the greyscale each reader chooses to see. Window/level is not a cosmetic setting. It is how you decide what to look at, and presets are how you stop deciding it manually forty times a day.
What window and level really mean
A CT stores far more shades of grey than a monitor can show or an eye can resolve. Each voxel carries a Hounsfield Unit (HU) value, running from around -1000 for air to +1000 and beyond for dense bone, with water sitting at zero. Your display can show maybe 256 shades. Window/level is the mapping between those two worlds.
- Window width (WW) is the range of HU values spread across the available greys. A narrow window means high contrast over a small HU band; a wide window means lower contrast over a broad band.
- Window level (WL), sometimes called window centre, is the HU value sitting in the middle of that range.
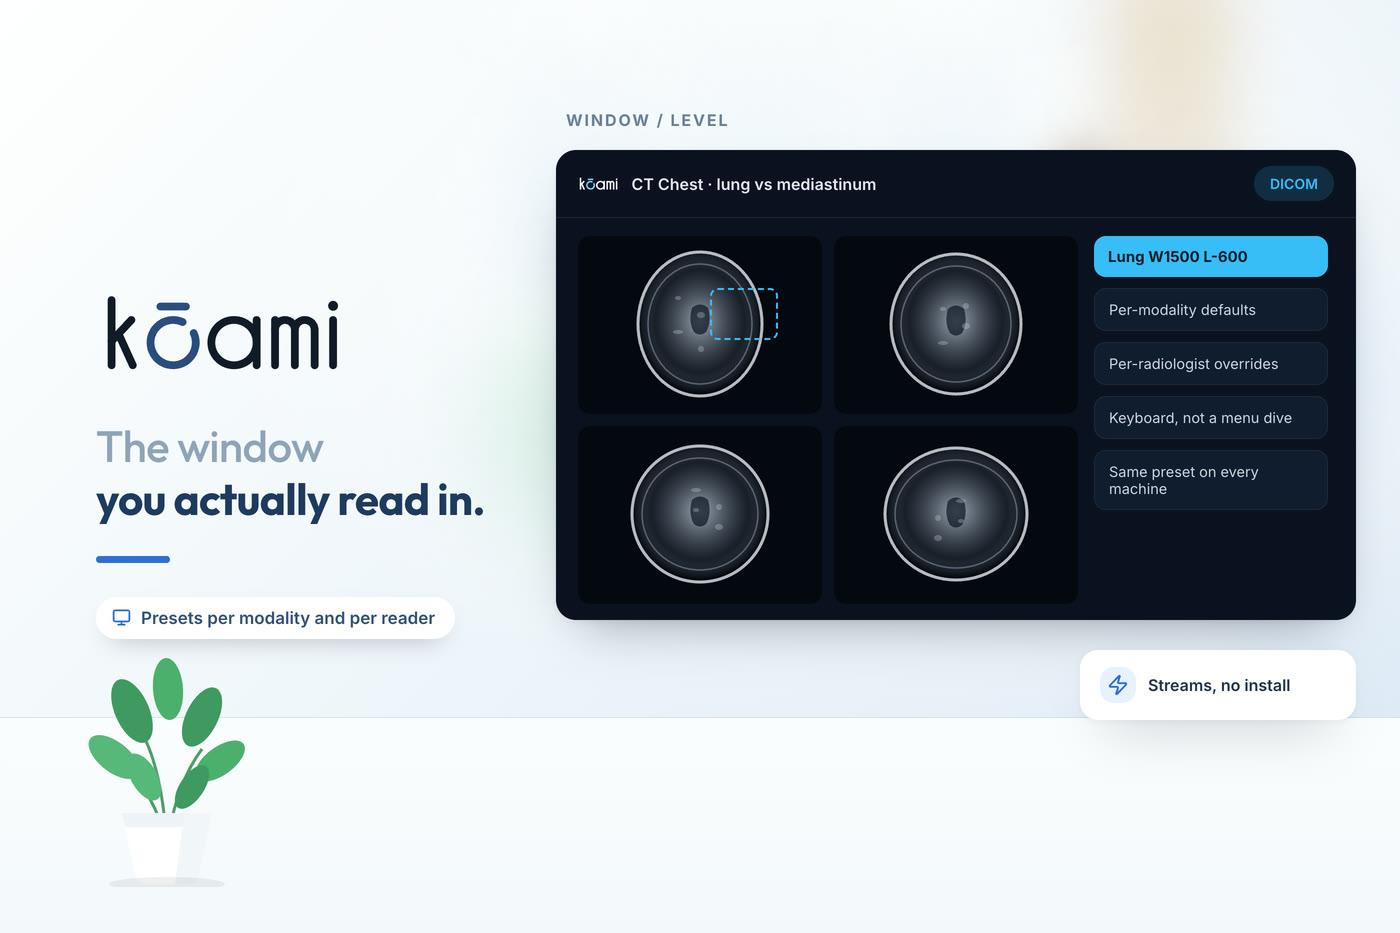
A lung window might be WW 1500, WL -600, stretching contrast across the air-filled parenchyma. A soft-tissue window sits nearer WW 400, WL 40, where liver, spleen, and nodes separate cleanly. Bone runs wide, around WW 2000, WL 400. Same scan, three completely different images, because you moved the window.
Presets are muscle memory, made explicit
Experienced readers carry these numbers in their fingers. The value of a preset is that it takes that memory out of the individual's hands and makes it a shared, one-key action. Press a key, land on the exact WW/WL for the tissue you want, every time, on every study.
The difference at volume is real. A body radiologist reading a busy list is switching windows constantly - lung, mediastinum, bone, sometimes a narrow window to chase a subtle bleed. Manual mouse-drag windowing on each switch is a small tax paid hundreds of times a shift. Presets collapse it to a keystroke.
The best window preset is the one your hand reaches for without your brain getting involved.
Kōami ships sensible defaults for the common tissue windows and, more importantly, lets a reader save their own. Because the preset you actually use is rarely the textbook number - it is the number you nudged to two years ago and never changed.
Match the preset to the read, not the textbook
Standard windows are a starting point, not a rule. How you read shapes what your presets should be.
- Stroke work wants a narrow window - something like WW 30 to 40 at WL 35 - to tease out the loss of grey-white differentiation that a routine brain window hides.
- Liver lesion hunting benefits from a tighter window than a general abdomen preset, so low-contrast lesions stop blending into background parenchyma.
- CT angiography reads want a window set for opacified vessels, not for the soft tissue around them.
- Temporal bone and other fine osseous work wants a very wide, sharp window that a general bone preset will not match.
The point is that a preset library should reflect the reading a department actually does. A stroke centre and a cancer centre reading the same anatomy still want different one-key windows because they are hunting for different things.
Presets that follow the study, and the reader
The frustrating part of most systems is that presets are dumb about context. You open a non-contrast head and the viewer starts you in a bone window; you open a chest and it starts in soft tissue when you wanted lung. Every mismatch is a manual correction.
The fix is presets that key off the study. A modality and body-part combination should open at the window that read most wants, with the alternates one key away. Better still, the system should remember that this particular reader always flips a head CT to a narrow stroke window, and honour it, without overwriting the neighbour who reads it differently.
- Bind presets to study type so the first image is already close to right
- Keep the full ladder - lung, soft tissue, bone, brain - on adjacent keys for fast switching
- Let individual readers save personal presets that travel with them across workstations
- Preserve the raw HU data untouched, so windowing is always a display choice and never a permanent edit
That last point is the one that gets forgotten. Windowing changes what you see, never what is stored. The full dynamic range is always there in the pixels, and any preset is just a lens you hold up to it. Kōami keeps the underlying data intact and treats every window as a view, so you can flick between them freely and measure HU values that mean exactly what they should.
One more practical note: presets are worth revisiting, not setting once and forgetting. The mix of studies a department reads shifts over time, new protocols arrive, and a reader's own eye changes as they gain experience. A window that felt right two years ago may be a keystroke you now fight against. Treating the preset library as something you tune, rather than a fixed inheritance, keeps it matched to the reading actually being done rather than the reading someone did when the system was first configured.
Window/level is one of the few tools in imaging that is both completely standard and deeply personal. The physics is fixed; the way you use it is yours. Good presets respect both - solid defaults grounded in the HU scale, and the freedom to bend them to the way you actually read.
Follow Kōami on LinkedIn
Get the next guide on hospital operations, software and compliance in your feed, as soon as it is published.